Tools
The end-effector is a device specially designed and installed at the mechanical interface to enable the robot to complete its tasks, such as a gripper or suction cup. Adding a scene object model is mainly used to display the end-effector in the software and enable the end-effector to participate in collision detection.
Add Tool
-
Prepare a tool file (.obj). The tool model file should be a convex hull or convex combination.
-
Click + on the right side of the tool entry.
-
In the import tool popup window:
-
Enter a custom tool name.
-
Click Upload File on the right side of the file and select the tool model file.
-
Click Confirm.
-
-
In the tool parameter window on the right:
Add Multiple Tools
In some project scenarios, different workpieces or the same workpiece may require switching between different tools or different forms of the same tool due to different grasping point positions.
In this case, multiple tools can be added to meet the needs of different scenarios.
For detailed steps, please refer to Add Tool.
Set Tool Installation Pose
The tool should be installed on the end flange of the robot. After adding the tool model, it needs to adjust its pose to match the actual installation form.
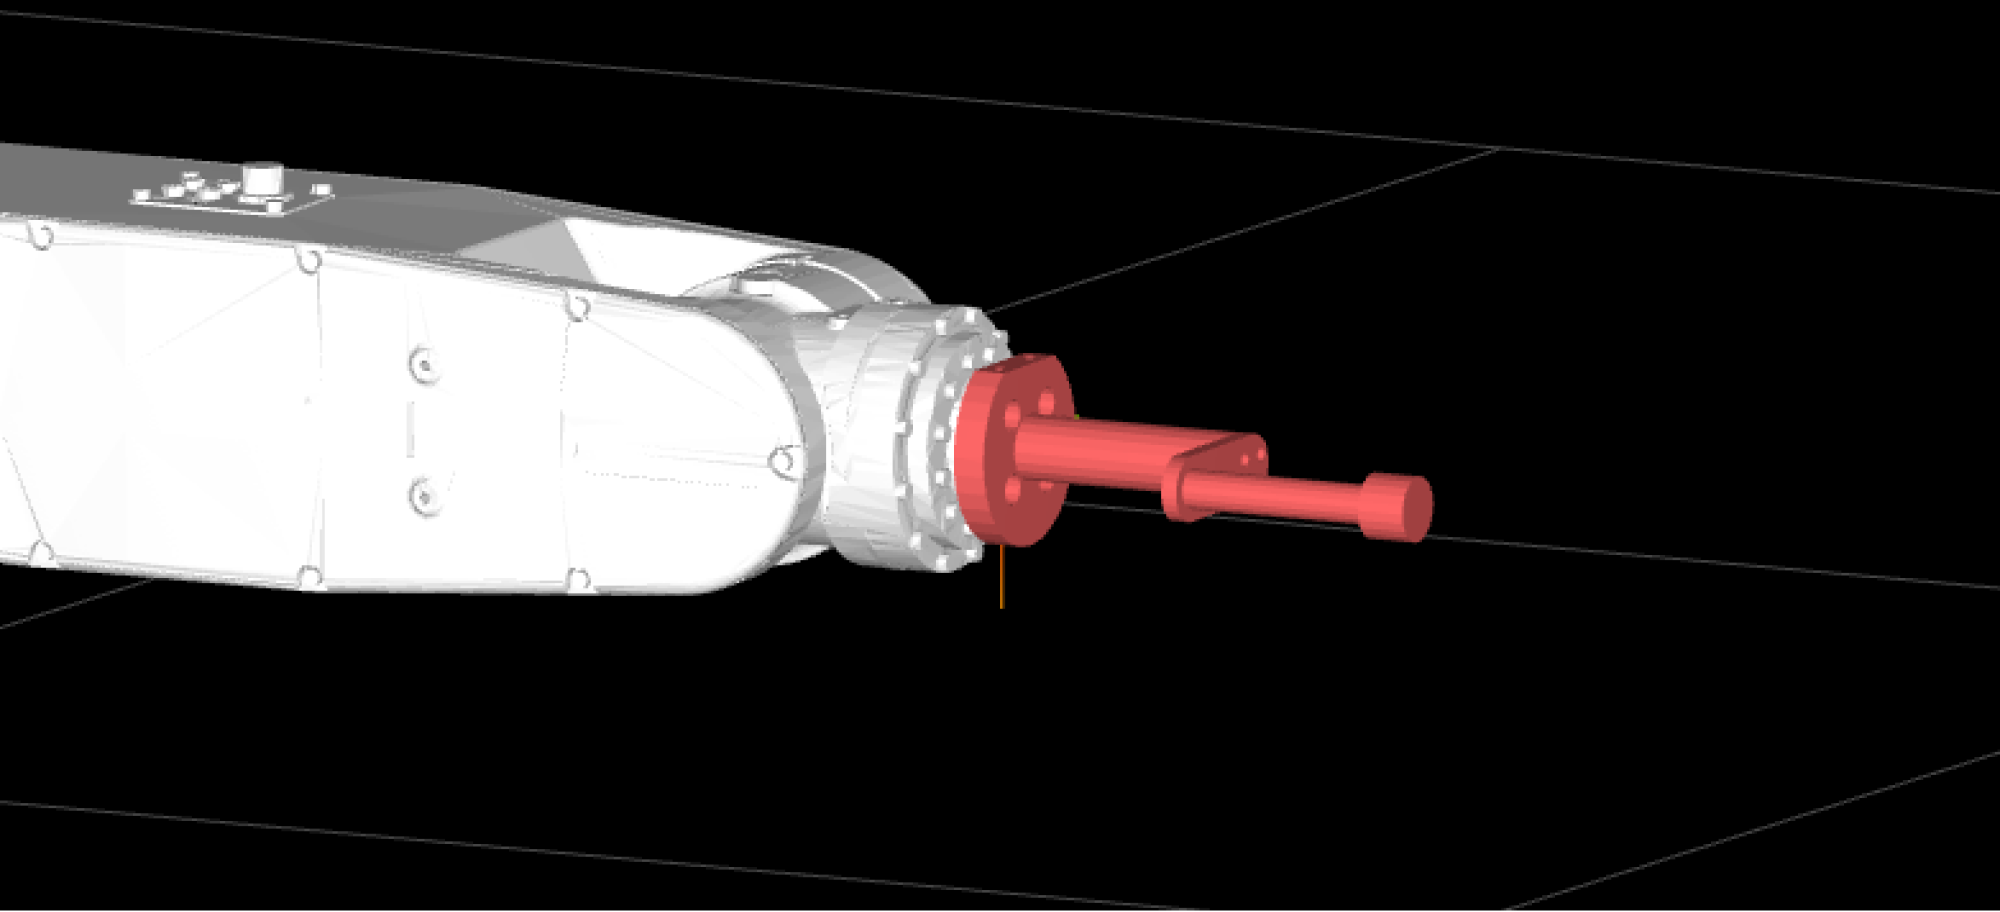
Adjust the pose parameters in Parameter Settings > Tool Installation Pose.
Set TCP
The tool is used to pick and place objects. When the robot moves to a certain point in space for picking and placing, it essentially moves the TCP origin to that point. The default tool coordinate system is located at the end flange of the robot, so you need to adjust the TCP to the end of the tool to accurately simulate the actual picking and placing process.
Adjust the pose parameters in Parameter Settings > Tool Coordinate System to set the TCP.