Operation guide
Adjust the view
-
Rotate the view: hold down the left mouse button and drag in any direction.
-
Pan the view: hold down the right mouse button and drag in any direction.
-
Zoom the view: scroll the mouse wheel.
-
Switch the 3D coordinate system perspective: click X/-X/Y/-Y/Z/-Z.
Edit point cloud
Crop point cloud
Follow steps to crop the point cloud:
-
Click
 on the toolbar.
 -
Select point cloud
Use the left mouse button to select the area to be cropped or retained in the 3D editing area, and right-click to complete the selection. In addition, move the mouse to the anchor point, hold down the left mouse button and drag in any direction to adjust the selection box.
-
Finish editing
-
If you need to crop the selected part, click Keep outside and then click Finish.
-
If you need to crop the area outside the selected part, click Keep inside and then click Finish.
-
In addition, if you need to reselect, click Cancel.
If you are not satisfied with the processed point cloud, you can retrace the point cloud operation.
Downsampling
Follow these steps to downsample the point cloud:
-
Click the
 located on the toolbar.
 -
In the pop-up window, select the sampling method and set the sampling interval, then click OK.
Sampling Method
Description
Uniform Downsampling
Select points in the point cloud at fixed steps. Simple, but may overlook important features.
Voxel Downsampling
Divide the point cloud into voxel grids, keeping one representative point per voxel. Reduces point count but may lose detail.
If you are not satisfied with the processed point cloud, you can retrace the point cloud operation.
Extract edge point cloud
For scenes that require edge matching, Follow steps to extract edge point cloud:
-
Click
 on the toolbar.
 -
After setting the following parameters in the pop-up window, click OK.
Parameter
Description
Edge Angle Threshold
The edge angle threshold determines the sensitivity of edge detection. A smaller threshold will detect more edge points, possibly including some noise, while a larger threshold may miss some actual edge points.
Neighbor Search Count
The number of neighbors searched determines the effect of edge extraction.
If you are not satisfied with the processed point cloud, you can retrace the point cloud operation.
Generate Normal Vectors
-
Click the
 located on the toolbar.
 -
In the pop-up window, set the relevant parameters:
Method
Description
Viewpoint
Refers to the position from which the 3D scene is viewed.
Neighbor Search Count
The number of neighbors searched affects the accuracy of the normal vector generation.
-
Click OK
If you are not satisfied with the processed point cloud, you can retrace the point cloud operation.
Point cloud center alignment
To set the center of the bounding box as the origin of the point cloud:
-
Click the icon
 。
。 -
Click OK.
If you are not satisfied with the processed point cloud, you can retrace the point cloud operation.
Model Coordinate System Transformation
Follow these steps to transform the model’s coordinate system:
-
Click the icon
 。
。 -
In the popup, select the model you want to transform: Point Cloud Model or Collision Detection Model.
-
Adjust the model parameters as needed or drag the controller with the mouse to move the model, then click OK.
Hold down the left mouse button to drag the popup window.
If you are not satisfied with the processed point cloud, you can retrace the point cloud operation.
Set Model Coordinate System Origin
Follow these steps to set the origin:
-
Click the
 located on the toolbar.
 -
Follow the prompts to select any point in the point cloud to set the origin of the point cloud coordinate system.
-
Click OK to align it to the spatial origin.
Hold down the left mouse button to drag the pop-up window.
If you are not satisfied with the processed point cloud, you can retrace the point cloud operation.
View Settings
Follow these steps to configure the view:
-
Click the
 located on the toolbar.
 -
Adjust parameters such as point cloud point size, point cloud opacity, grasp point size, axis size, and dragger type as needed.
-
After adjusting the parameters, click OK.
Long-press the left mouse button to drag the popup window to a different position.
Edit Grasp Points
Adding Grasp Points
To add and adjust a grasp point, follow these steps:
-
Click
 ,the grasp point will be placed at the center of the point cloud bounding box with the grasp point controller displayed.
 -
Use one of the following methods to adjust the grasp point’s position:
-
Rough Adjustment: Select the grasp point name from the left list and drag the controller to move.
-
Precise Adjustment: Adjust the pose parameters in the grasp point edit window.
-
Teaching Grasp Points
Teaching grasp points involves moving the robot’s end effector to the target position for grasping an object, recording this position as a grasp point. Follow these steps to add a taught grasp point:
-
Use the teaching pendant to control the robot, moving the end effector to the actual grasping position, and record the tool’s current pose.
-
Click
 ,and input the pose values into the robot’s grasp pose.
 -
Click OK to add the grasp point to the 3D editing area.
Mirroring Grasp Points
Based on the object and tool characteristics, apply specific rules to mirror grasp points to increase grasping success probability by adding multiple grasp points on the object.
Operation Instructions
Click the grasp point you want to mirror in the list, then click the icon ![]() on the toolbar to open the mirror settings window. Set up the mirror operation as follows:
on the toolbar to open the mirror settings window. Set up the mirror operation as follows:
-
Enable Mirroring
Check Enable Mirroring.
-
Set Axis Vector
The axis vector determines the axis from the mirror origin’s 3D coordinate system to be used as the mirroring basis.
-
Grasp Point X/Y/Z Axis.
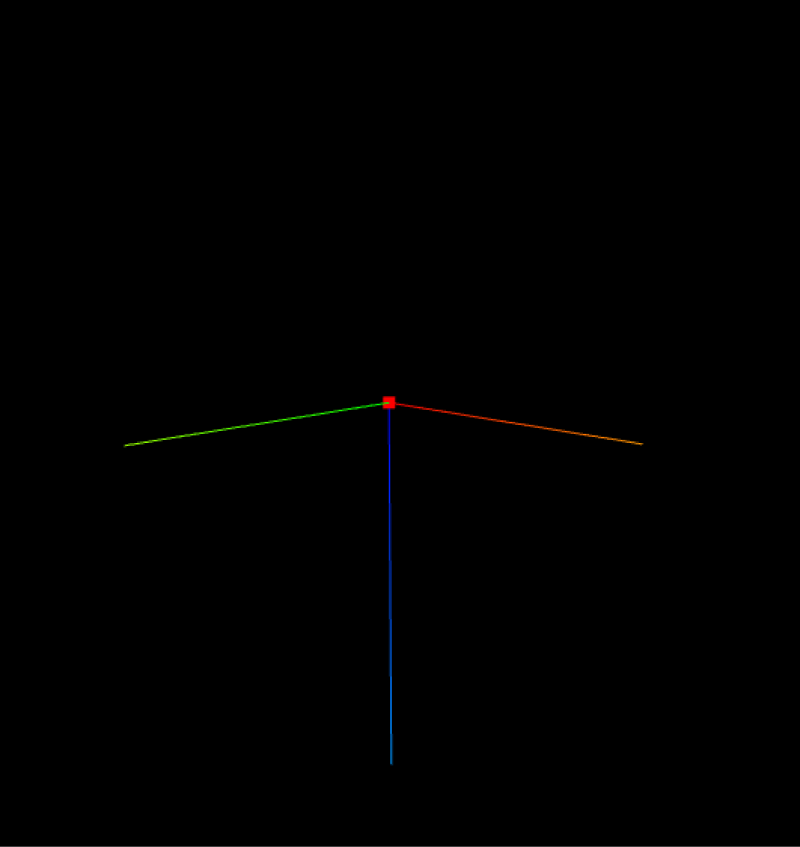
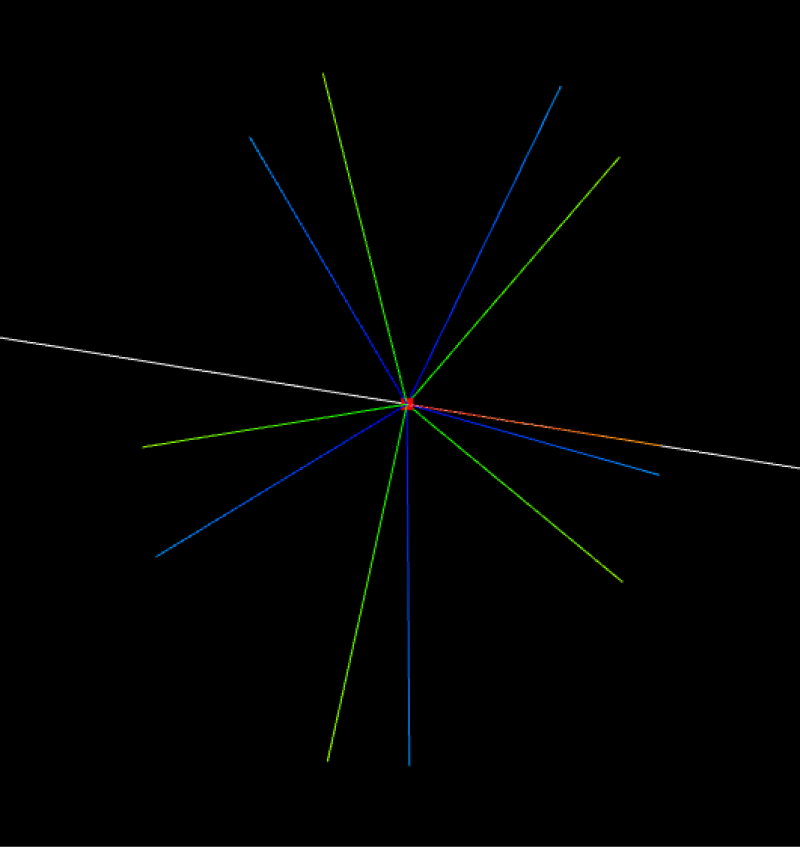
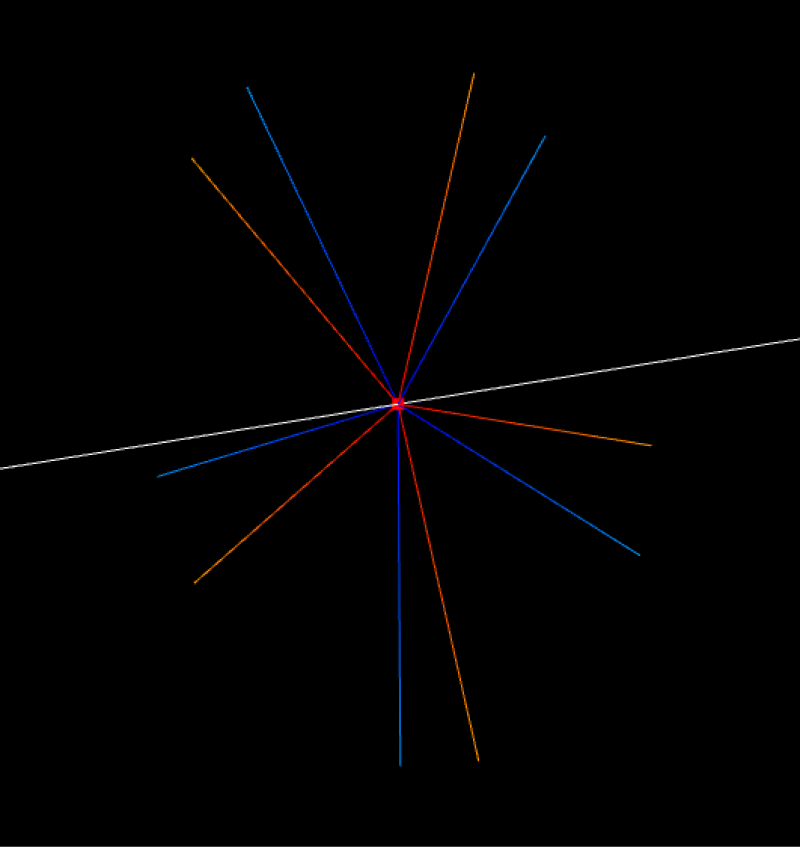
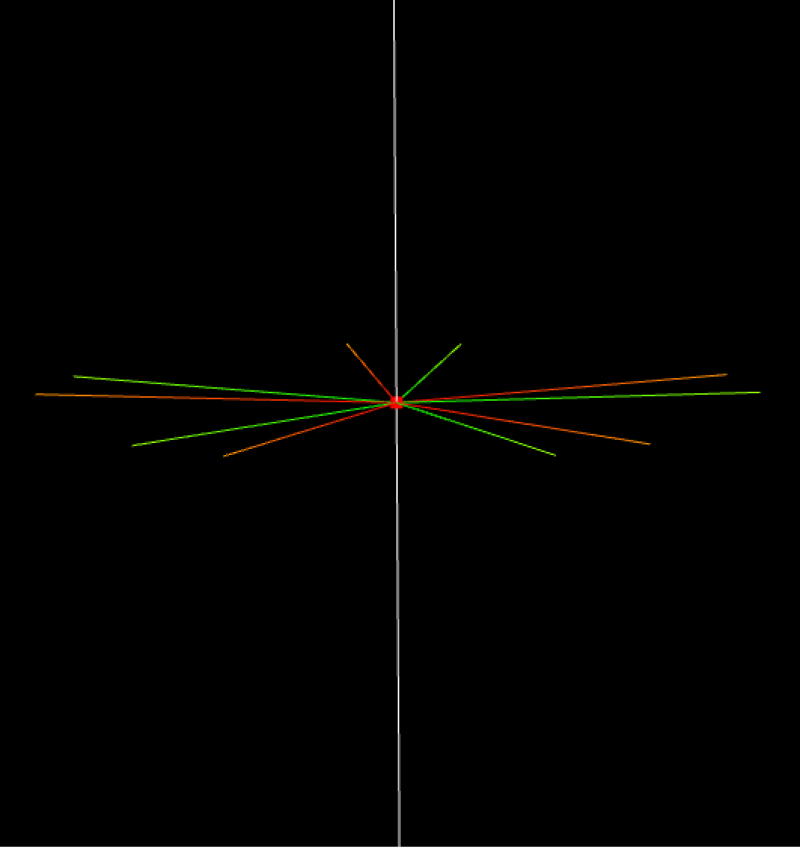
Grasp Point
Mirror along X axis
Mirror along Y axis
Mirror along Z axis
-
Custom: Define an axis by setting X, Y, and Z axis vectors, using this axis as the mirroring basis.
-
-
Set Axis Coordinate
The axis coordinate determines the origin point for mirroring.
-
Grasp Point Local Coordinate System: Mirrors using the grasp point’s own origin.
-
Custom: Define an origin by setting X, Y, and Z parameter values to serve as the mirroring base point.
-
-
Set Mirror Point Count
The mirror point count is the total number of final grasp points.
-
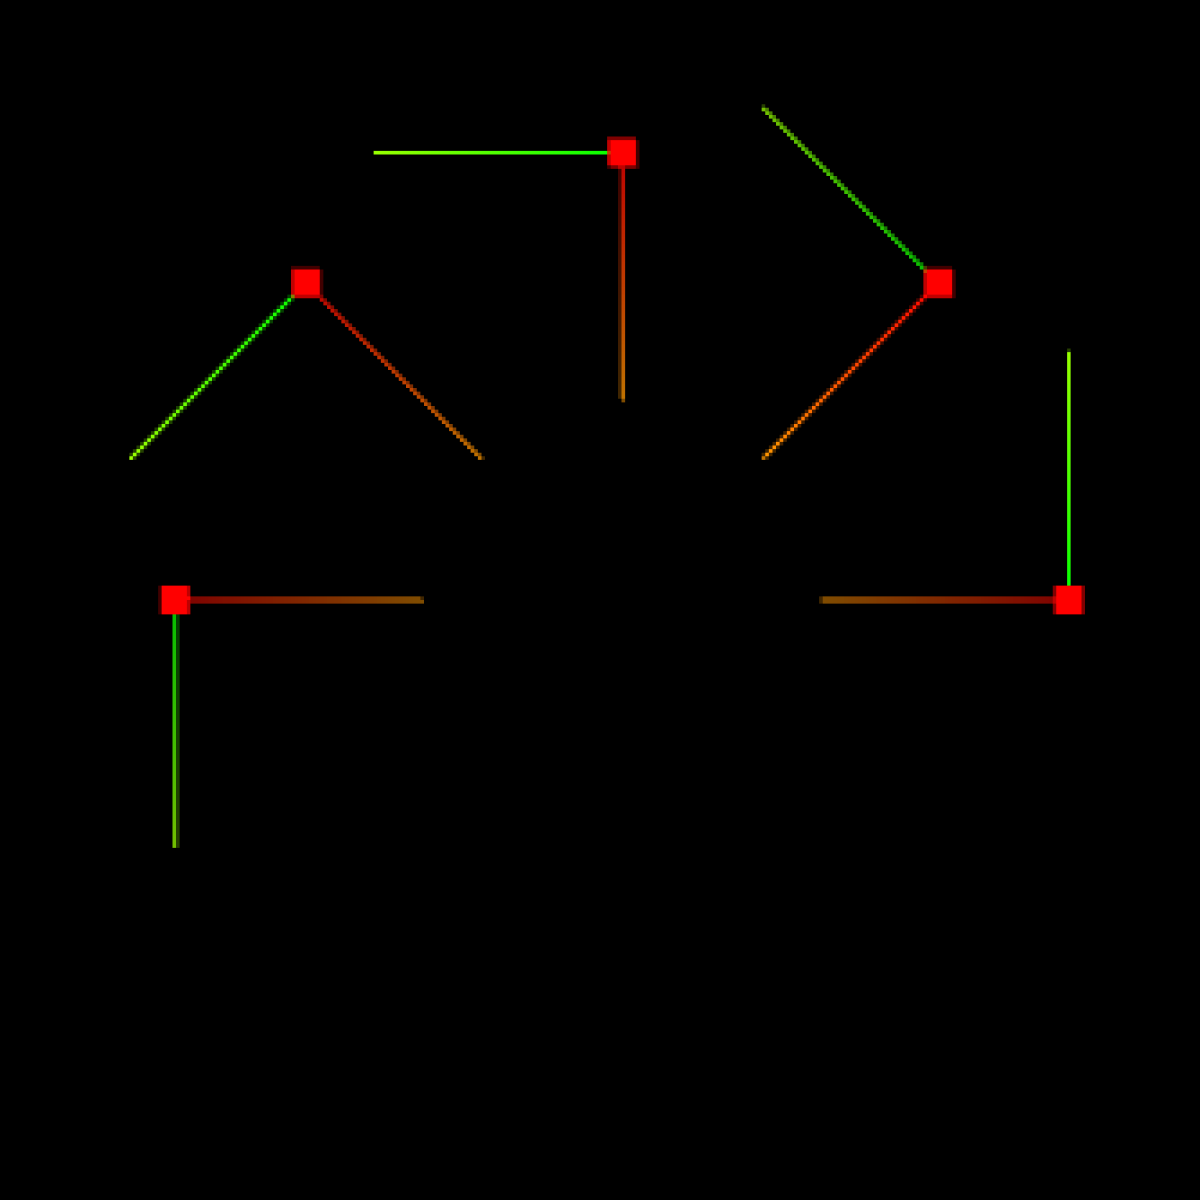
Set Mirror Angle
The mirror angle specifies the range for generating mirrored points. The range is shown below as 0°-180°.
Edit Grasp Point Name
To edit a grasp point name, follow these steps:
-
Right-click on the grasp point name in the grasp point file list.
-
Select Edit Name from the context menu.
-
Enter a custom name in the popup window, then click OK.
Copy Grasp Points
Right-click on the grasp point name in the grasp point file list, then select Copy Grasp Point from the context menu.
Delete Grasp Points
Right-click on the grasp point name in the grasp point file list, then select Delete from the context menu.
Set Grasp Point Priority
For a matching template with multiple grasp points, grasp point priority determines which grasp point is attempted first. 0 is the highest priority, followed by 1, and so on.
To set grasp point priority, follow these steps:
-
Right-click on the grasp point name in the grasp point file list.
-
Select Set Priority from the context menu.
-
Set the priority in the popup window, then click OK.