C++
说明
C++ SDK中使用了三个开源工具库来方便调用
-
HTTP/HTTPS library https://github.com/yhirose/cpp-httplib 用于发起Http请求
-
JSON for Modern C++ https://github.com/nlohmann/json 用于对JSON字符串进行解析
-
PNG encoder and decoder https://github.com/lvandeve/lodepng 用于图像数据的存储
接口定义
struct EpicEyeInfo {
    std::string SN;         //序列号
    std::string IP;         //相机IP地址
    std::string model;      //相机的型号
    std::string alias;      //相机的别名,可通过Web UI进行更改
    uint32_t width = 0;     //图像的width
    uint32_t height = 0;    //图像的height
};| 函数名 | 功能解释 | 参数与返回值 |
|---|---|---|
|
获取SDK版本 |
返回值: std::string类型的SDK版本号 |
|
获取相机信息 |
参数: ip: 相机的ip地址 info: EpicEyeInfo类型,用于接收相机详细信息,包含width,height 返回值: bool类型,表示是否请求成功 |
|
触发拍摄一个Frame |
参数: ip: 相机的ip地址 frameID: std::string类型,用于接收此次触发拍照返回的frameID pointCloud: bool类型,表示是否请求点云数据 返回值: bool类型,表示是否请求成功 |
|
根据frameID获取2D图像 |
参数: ip: 相机的ip地址 frameID: 待获取数据的frameID imageBuffer: void*类型,用于返回图像数据 pixelByteSize: int类型,用于接收图像数据字节大小 返回值: bool类型,表示是否请求成功 |
|
根据frameID获取点云,相关内存由SDK使用者申请和释放 |
参数: ip: 相机的ip地址 frameID: 待获取数据的frameID,可由triggerFrame获得 pointCloudBuffer: float*类型,用于返回点云数据,内存由SDK使用者申请和释放,大小为width*height*sizeof(float)3 *返回值: bool类型,表示是否请求成功 |
|
根据frameID获取深度图,相关内存由SDK使用者申请和释放 |
参数: ip: 相机的ip地址 frameID: 待获取数据的frameID,可由triggerFrame获得 depth: float*类型,用于返回深度图数据,内存由SDK使用者申请和释放,大小为width*height*sizeof(float) 返回值: bool类型,表示是否请求成功 |
|
根据frameID获取相机参数配置,若frameID为空字符串"",则返回当前最新的相机配置参数 |
参数: ip: 相机的ip地址 configJson: nlohmann::json类型,用于返回相机配置数据 frameID: 待获取数据的frameID,可由triggerFrame获得 返回值: bool类型,表示是否请求成功 |
|
更新相机参数配置 |
参数: ip: 相机的ip地址 configJson: nlohmann::json类型,待设置的相机配置数据 返回值: bool类型,表示是否请求成功 |
|
获取相机的内参矩阵 |
参数: ip: 相机的ip地址 cameraMatrix: std::vector<float>类型,按行存储的相机矩阵,可恢复成3x3的camera matrix,与OpenCV兼容 返回值: bool类型,表示是否请求成功 |
|
获取相机的畸变参数 |
参数: ip: 相机的ip地址 distortion: std::vector<float>类型,相机的畸变参数,和OpenCV兼容 返回值: bool类型,表示是否请求成功 |
|
自动搜索相机 |
参数: cameraList: std::vector<EpicEyeInfo>类型,返回搜索到的相机列表 返回值: bool类型,表示是否成功搜索到相机 |
Linux运行
-
依赖gcc,g++, cmake, make
Debian系Linux系统可以执行以下安装
sudo apt install gcc g++ cmake make
-
环境安装完成后
mkdir build && cd build
cmake .. && make -j12
编译出来的库和
samples二进制文件会存储在output文件夹中``` output/ ├── bin │ ├── CameraConfig │ ├── CameraInfo │ ├── CameraParameters │ ├── EpicEyeCapture │ └── SearchCamera └── lib └── libEpicEyeSDK.a ```
opencv示例
-
opencv的环境安装
-
Debian系的Linux系统可以直接使用apt进行opencv的安装
sudo apt install libopencv-dev
-
或者使用我们提供的opencv预编译包:下载opencv预编译包。
sudo dpkg -i opencv-qytech_4.5.3-5+focal_amd64.deb
安装好环境后重新编译即可。
-
Windows运行
windows上如果使用cmake clang一套工具链,则可以参考Linux的流程。
如果使用Visual Studio,可以直接通过VsCode来打开cpp文件夹,由于本项目没有外部依赖项,因此无需配置依赖。

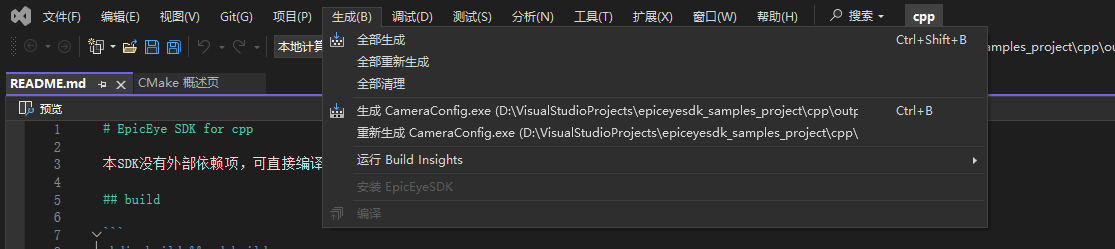
执行全部生成
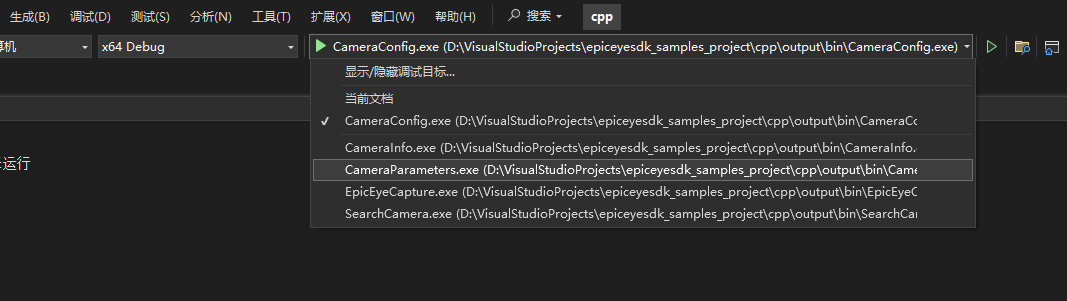
可在执行器中选择想要执行的对象运行
opencv示例
示例工程文件中,提供了EpicEyeCaptureOpencv的示例程序,该程序在Windows下需要配置Opencv环境,具体如下:
-
到Opencv release页面中下载对应版本的Opencv,本例程中使用的是4.5.5
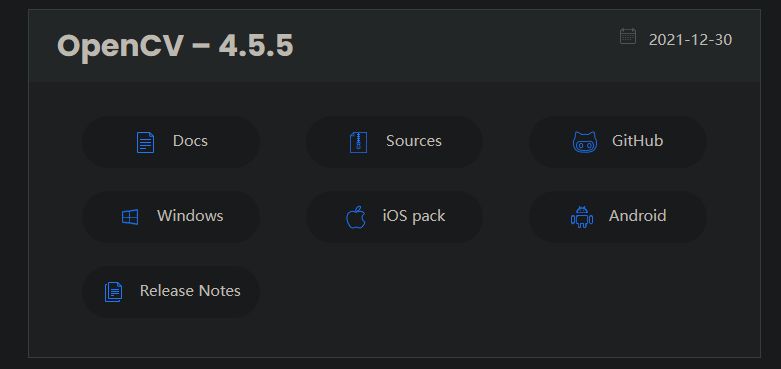
点击Windows进行下载,会下载得到一个Opencv的安装包。
-
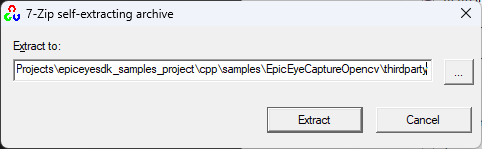
双击执行,选择解压到工程目录中(epiceyesdk_samples/cpp/samples/EpicEyeCaptureOpencv/thirdparty)
-
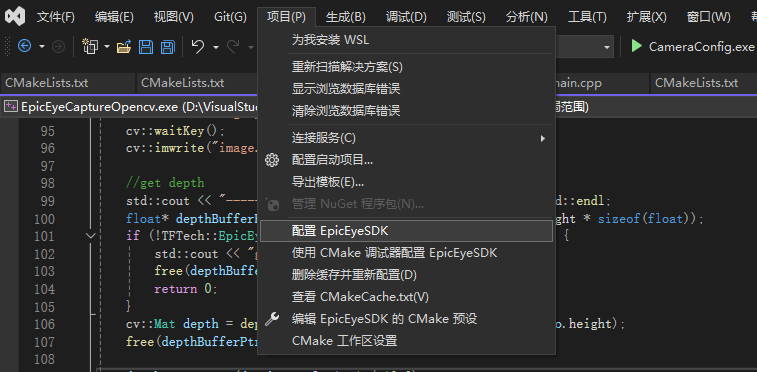
在Visual Studio中点击项目→配置EpicEyeSDK
-
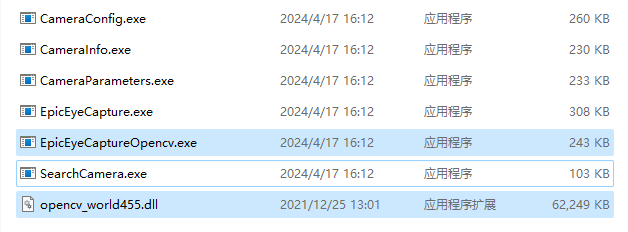
点击生成→全部重新生成,会自动拷贝opencv库到二进制输出文件夹
|
如果需要更新的Opencv版本,需要修改示例工程中的CMakeLists.txt文件中的路径,修改成对应的版本路径。 
|